Getting Started
Hands-on Lab objectives
Functionnally
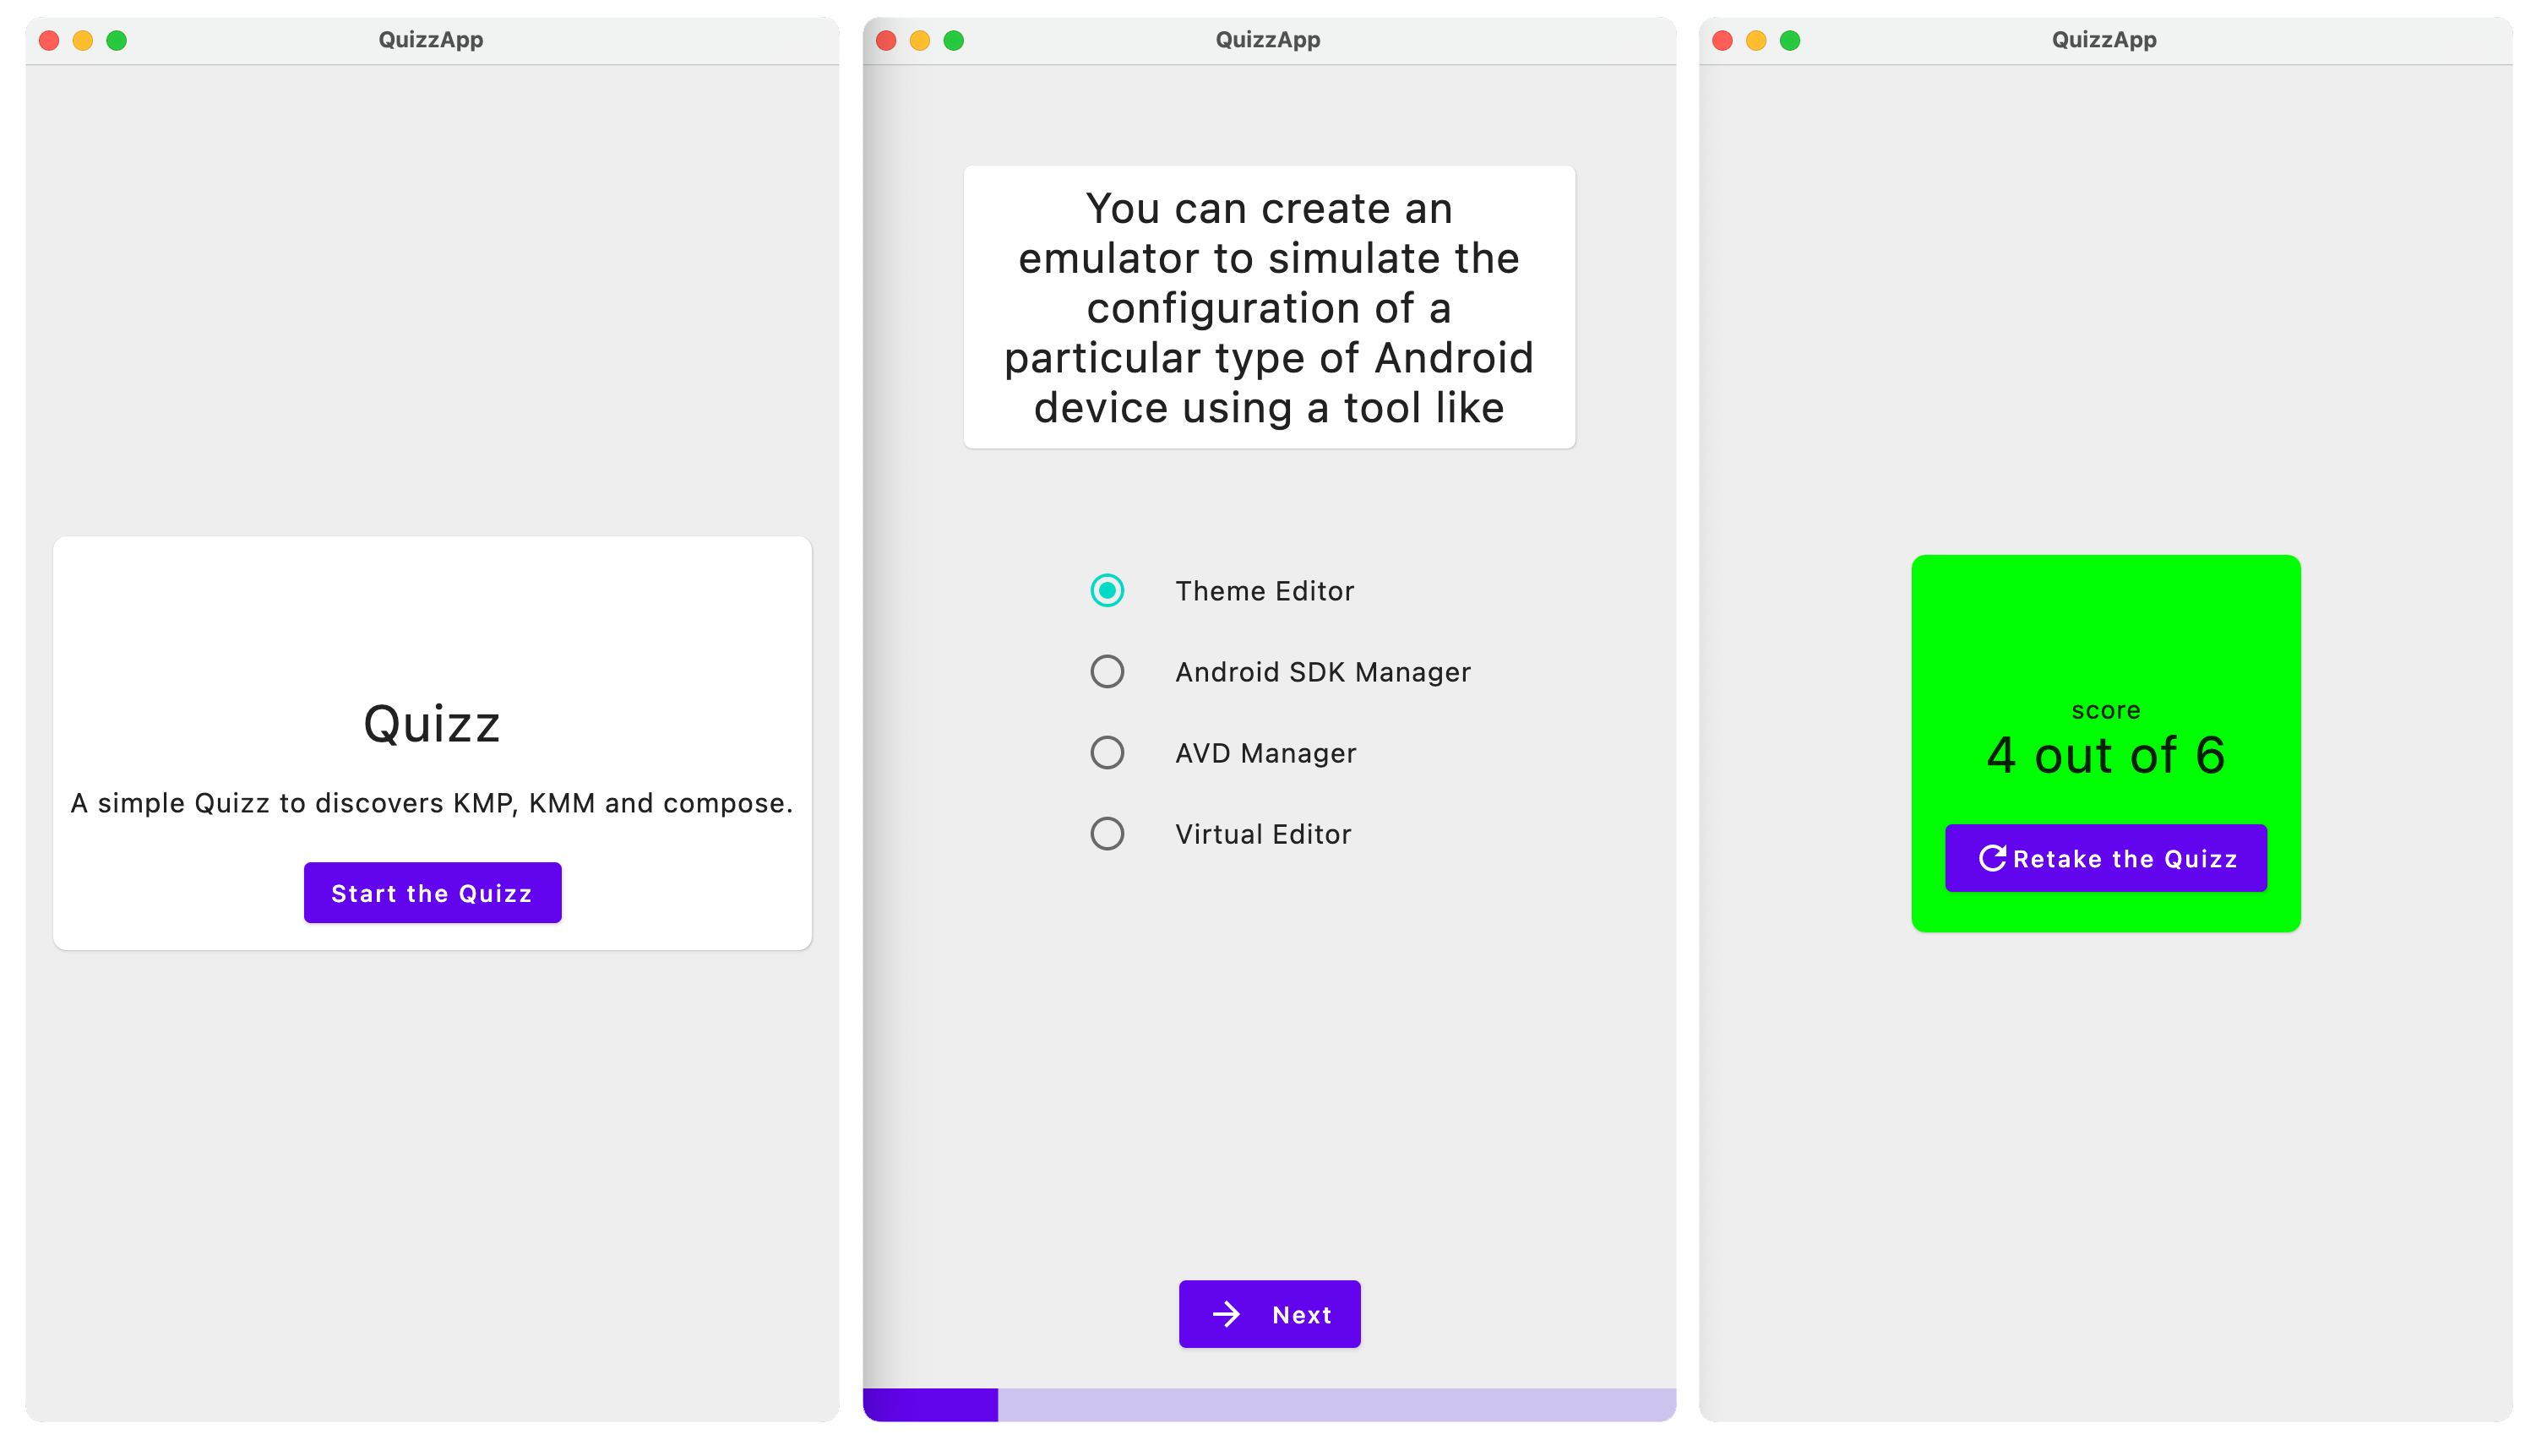
We will create a simple quiz application that provides :
- a Startup screen explaining rules of the game
- a Quiz screen looping on single choices questions
- a final scoring screen.
Technically
- The app can be deployed on Android , iOS and jvm Desktop.
- We will use not only a common library but composable views shared for all platforms
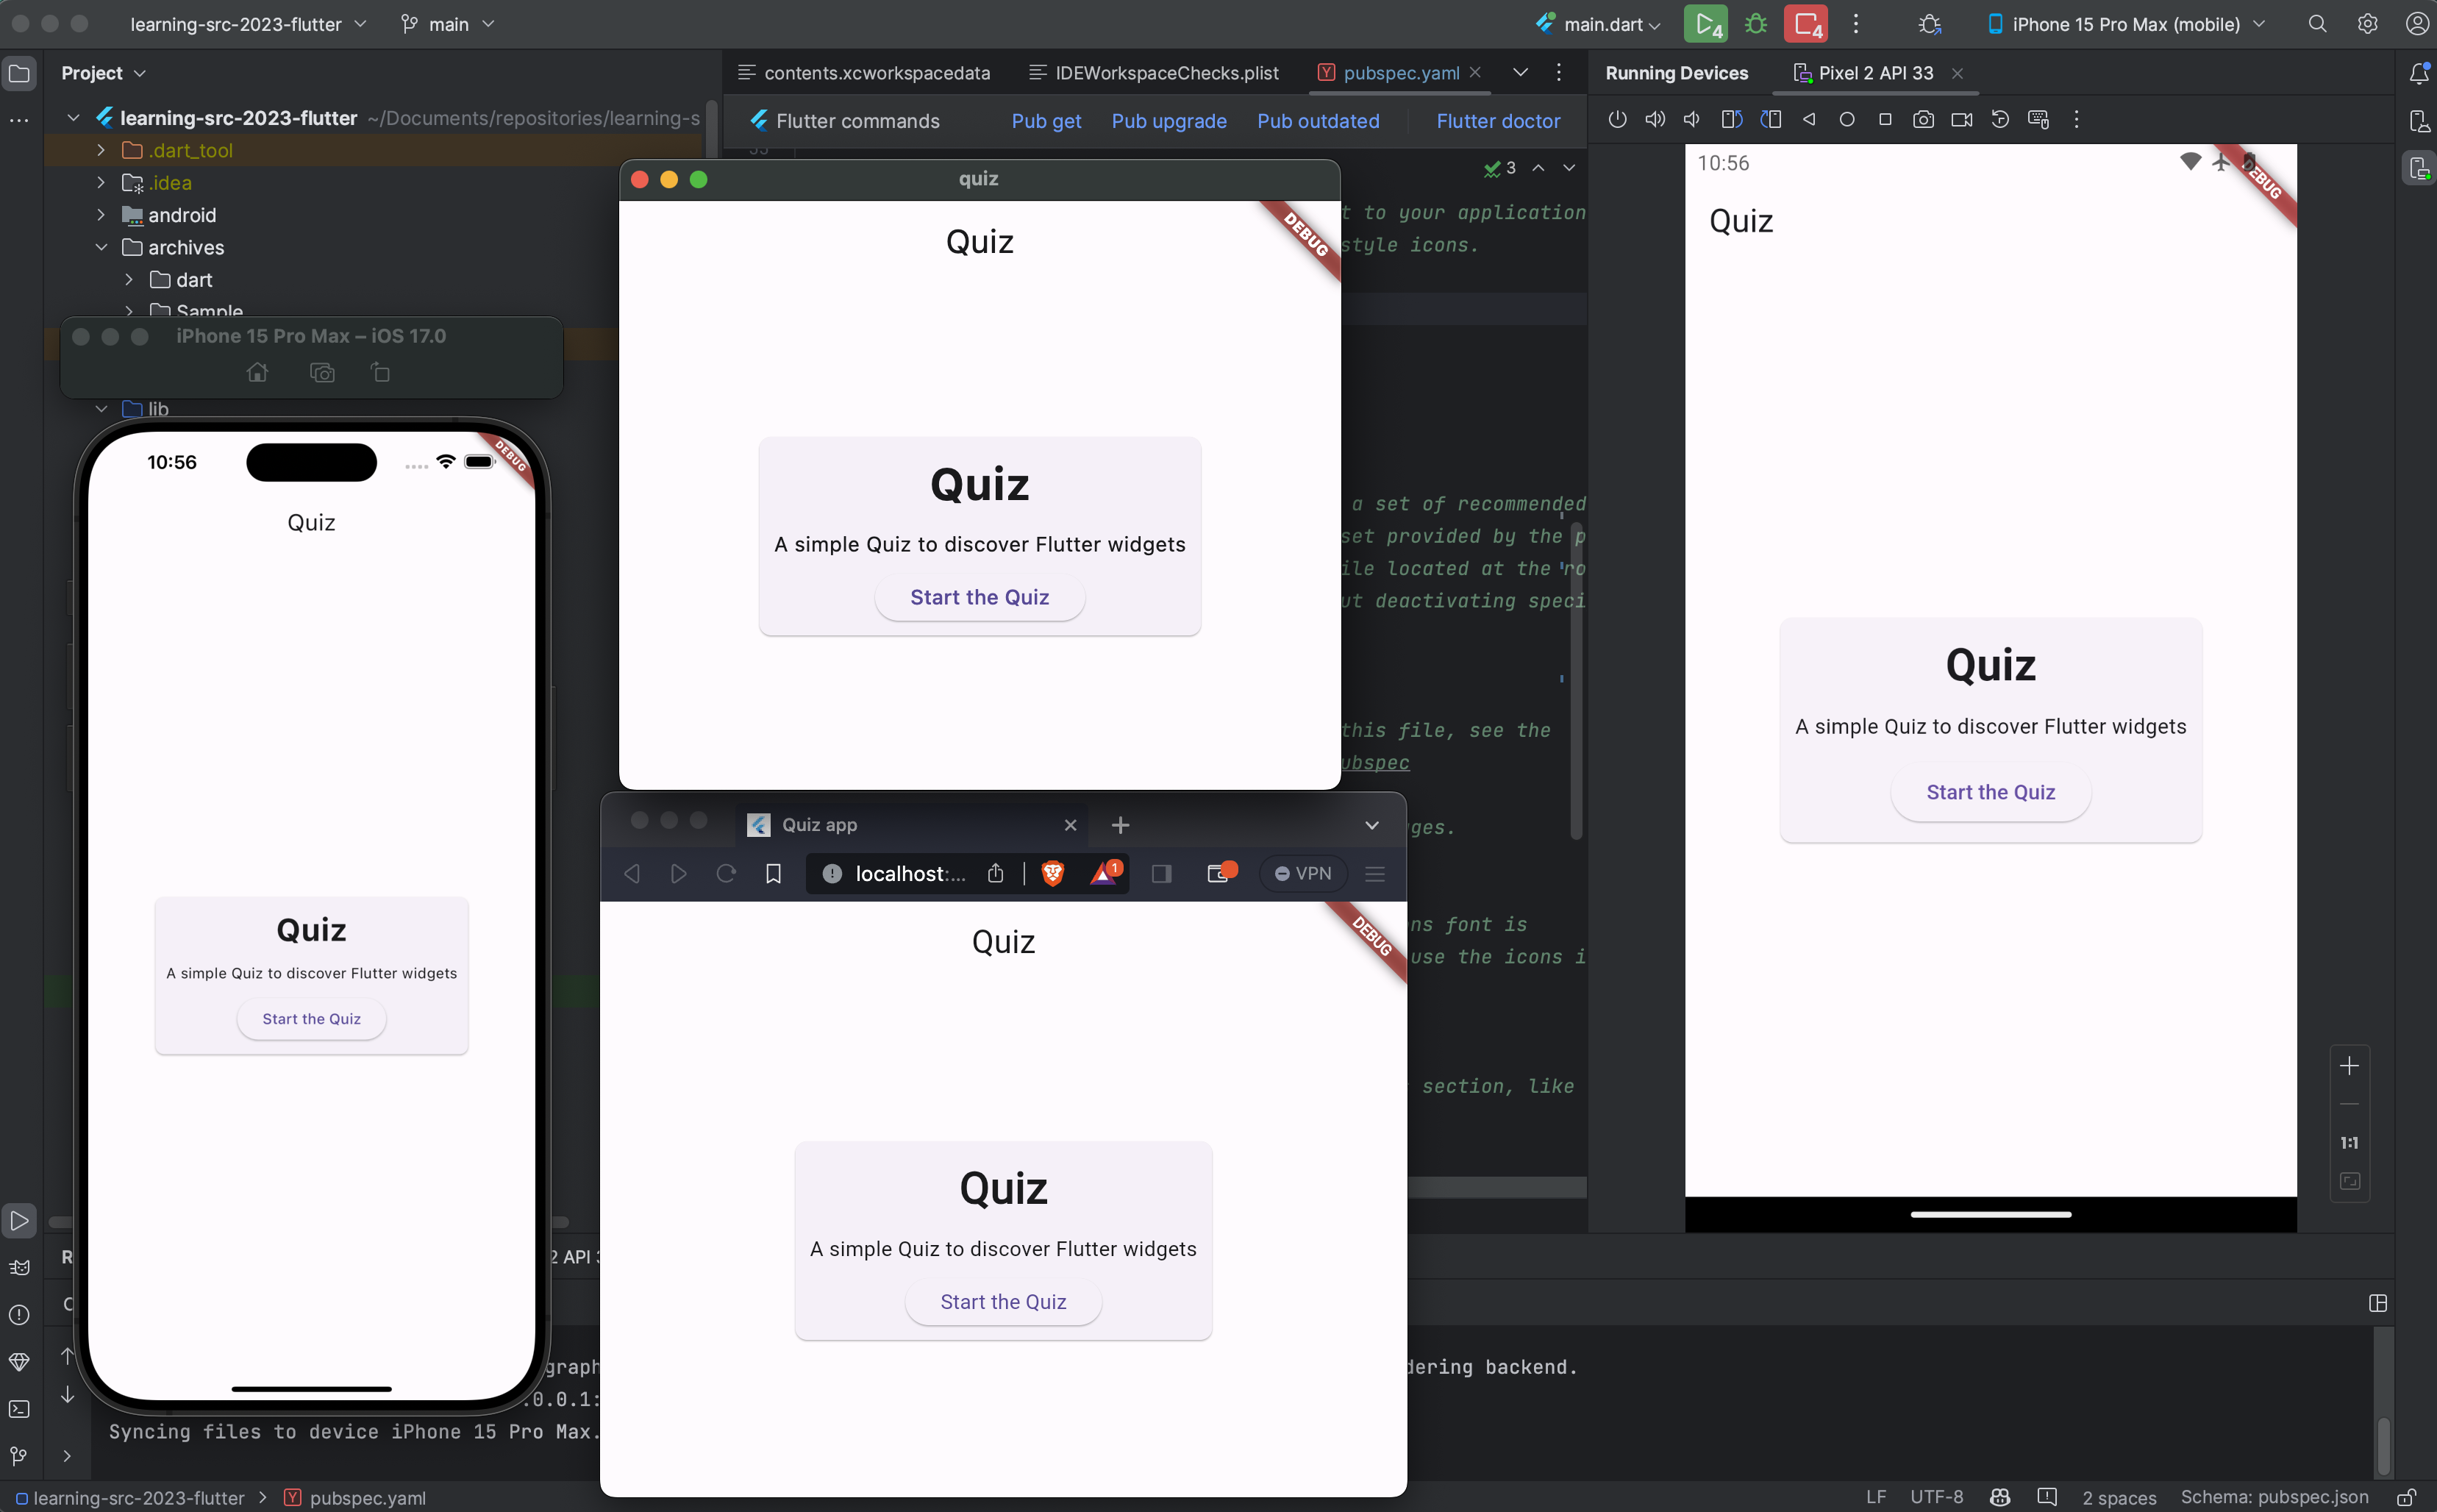
Design screens
Here are expected screens at the end of this Hands-on Lab.
🧪 SDK & IDE
You'll get an overview of what the Flutter SDK is and its significance in app development. We'll provide detailed installation instructions for various operating systems, ensuring that you have a fully functional Flutter environment.
Selecting the right IDE is crucial for Flutter development. We'll introduce you to the most popular choices and guide you through installing and configuring :
- Android Studio with the Flutter plugin
- Visual Studio Code with Dart and Flutter extensions.
- Zapp.run : a cloud IDE for flutter !
🧪 Hello World !
Create a simple "Hello, Flutter" app as your first Flutter project.
Project Structure
To become proficient in Flutter, you need to understand the essential components of a Flutter app. We'll dive into the main function and explain its significance. You'll also learn about the MaterialApp widget and how widgets, along with widget trees, play a pivotal role in building Flutter apps.
A well-structured Flutter project is essential for efficient development. You'll gain a deep understanding of the project structure, exploring critical directories like lib (for Dart code), assets (for resources), and pubspec.yaml (for dependencies and configuration). By the end of this lesson, you'll be able to navigate your Flutter project with confidence.
Main function
In Flutter, the main function serves as the entry point to your application. This is where the magic begins, and your Flutter journey starts. Let's explore the essentials of the main function in a Flutter context.
void main() {
  runApp(MyApp());
}
In this example, runApp is a crucial function that takes the root widget of your application. This widget represents the overall structure of your app.
In Flutter, everything is a widget. The main function sets the stage by invoking the runApp function and passing the root widget of your app. Understanding how to structure widgets within the main function is fundamental to building Flutter applications.
Writing Your First Flutter App
Let's create a simple Flutter app to understand the main function better. Here's a minimal example:
import 'package:flutter/material.dart';

void main() {
  runApp(
    MaterialApp(
      home: Scaffold(
        appBar: AppBar(
          title: Text('My First Flutter App'),
        ),
        body: Center(
          child: Text('Hello, Flutter!'),
        ),
      ),
    ),
  );
}
This Flutter app consists of a material app with a scaffold containing an app bar and a centered text widget.
Executing Your Flutter App
To run your Flutter app, make sure you have the Flutter SDK installed. Navigate to your project directory in the terminal and use the following command:
flutter run
This command will compile and run your Flutter app on an available device or emulator.
Material App
The MaterialApp and Scaffold widgets are fundamental to Flutter app structure. The MaterialApp provides a framework for your app, and Scaffold defines the basic visual structure. These concepts become more apparent as your app grows in complexity.
Widget
Your Flutter app is a tree of widgets. The main function is where you build this tree. Each widget can have children, creating a hierarchical structure that defines your app's layout and behavior.
Project structure
Certainly! Here's a simplified representation of a typical Flutter project file tree in markdown:
- my_flutter_app/
  - android/
    - app/
    - gradle/
    - ...
  - build/
  - ios/
    - Runner/
    - ...
  - lib/
    - main.dart
    - screens/
      - home_screen.dart
      - profile_screen.dart
    - widgets/
      - button_widget.dart
      - card_widget.dart
    - utils/
      - api_service.dart
      - theme_utils.dart
  - test/
    - widget_test.dart
  - pubspec.yaml
This represents a basic Flutter project structure. The lib folder contains the main Dart files organized into subdirectories for screens, widgets, and utilities. The android and ios folders are platform-specific folders for Android and iOS configurations, respectively. The test folder is for unit and widget tests, and pubspec.yaml is the file where dependencies and project metadata are defined. The build folder holds generated build files, and other configuration folders like android and ios contain platform-specific configurations. This structure provides a clean separation of concerns and is customizable based on project needs.
lib folder
The lib folder is the heart of a Flutter project, housing the core source code that defines the app's functionality and user interface. It serves as the primary location for your Dart files, where you organize your code into modular components. In Flutter, each Dart file within the lib folder typically represents a widget, screen, or a specific functionality. As you build your app, you'll create a hierarchy of directories and files within lib to structure your project logically. This central location makes it easy to manage and navigate your codebase, facilitating collaboration and ensuring a clean separation of concerns. Understanding the role of the lib folder is fundamental to effective Flutter development, allowing developers to create maintainable and scalable applications.
pubspec.yml
- Managing Dependencies with pubspec.yaml
Flutter allows you to customize your project structure to meet your specific requirements. In this lesson, you'll discover how to make changes to the pubspec.yaml file, add assets and resources to your project, and organize your Dart code effectively. You'll have the flexibility to structure your project as per your development needs.
The pubspec.yaml file is a crucial part of Flutter app development. We'll delve into its role in managing dependencies and guide you on how to add external packages to your project. You'll also learn how to specify version constraints for packages, ensuring a smooth development experience.
Certainly! Here's a paragraph and a code example illustrating dependency management with the pubspec.yaml file in Flutter:
Dependency Management
In Flutter, the pubspec.yaml file serves as the central configuration file for managing project dependencies. Dependencies are external packages and libraries that enhance the functionality of your Flutter application. The dependencies section of the pubspec.yaml file is where you declare these external dependencies, specifying their names and versions. Additionally, the dev_dependencies section allows you to include dependencies used exclusively during development and testing. This structured approach to dependency management ensures that your project is equipped with the necessary packages while maintaining version compatibility and stability.
# Example `pubspec.yaml` file

name: my_flutter_app
description: A sample Flutter application

dependencies:
  flutter:
    sdk: flutter
  cupertino_icons: ^0.1.3  # Example of a dependency with version constraint
  http: ^0.13.3            # Another example with a version constraint

dev_dependencies:
  test: ^1.16.5            # Example of a development dependency for testing
In this example, the dependencies section includes the Flutter SDK as well as two external dependencies (cupertino_icons and http). The ^ symbol indicates a compatible version range, ensuring that the specified version or any compatible version up to the next major release will be used. The dev_dependencies section includes the test package, which is a common choice for testing Flutter applications during development. This structured declaration in the pubspec.yaml file allows Flutter to automatically fetch and manage these dependencies when the project is built or updated.
Assets
In Flutter, asset management is a fundamental aspect of creating visually compelling and dynamic applications. The assets folder serves as the repository for non-code resources like images, fonts, and other static files. These assets are declared in the pubspec.yaml file, allowing Flutter to efficiently bundle and include them in the app during runtime. The asset management system in Flutter enables developers to seamlessly integrate multimedia elements into their applications, enhancing the user experience. With easy referencing and organized structuring of assets, developers can create visually appealing interfaces and ensure smooth interactions, contributing to the overall success of Flutter projects.
name: my_flutter_app
description: A sample Flutter application

dependencies:
  flutter:
    sdk: flutter
  cupertino_icons: ^0.1.3

flutter:
  assets:
    - assets/images/
    - assets/fonts/
In this example, the flutter section within the pubspec.yaml file includes an assets key, which is a list specifying the directories containing assets. In this case, it declares two asset directories: assets/images/ for image files and assets/fonts/ for font files. This declaration allows Flutter to recognize and bundle these assets with the application during the build process. Developers can then reference these assets in their code for tasks such as displaying images or using custom fonts within the Flutter app.
🧪 Debugging and Testing Tools
Effective debugging and testing are essential for building robust Flutter apps. We'll introduce you to debugging tools, show you how to use the Flutter DevTools for debugging and profiling, and guide you through writing and running tests for your Flutter app.
Flutter employs a dual compilation strategy:
- Just-In-Time (JIT)
- Ahead-Of-Time (AOT)
each serving distinct purposes in the development and deployment lifecycle.
JIT Compilation for Debugging
During development, the JIT compilation plays a pivotal role in facilitating a rapid and iterative debugging process. JIT allows developers to utilize Flutter's hot reload feature, enabling near-instant reflection of code changes in the running application. This means that modifications made to the Dart code are injected into the running Dart Virtual Machine (VM) without requiring a full application restart. Developers can observe the impact of changes immediately, making debugging more efficient and responsive. The combination of JIT and hot reload significantly accelerates the development cycle, aiding in the identification and resolution of issues in real-time.
AOT Compilation for Deployment
When it comes to deploying Flutter applications, Ahead-Of-Time (AOT) compilation takes center stage. AOT compilation translates Dart code into native machine code ahead of runtime, resulting in a standalone executable. This eliminates the need for the Dart VM during deployment, leading to improved performance and reduced application size. The AOT-compiled code is optimized for execution on the target platform, enhancing the overall efficiency and speed of the deployed application. Additionally, AOT compilation contributes to a more secure deployment by reducing the attack surface associated with runtime interpretation.
By seamlessly integrating JIT for development and AOT for deployment, Flutter provides a versatile and powerful set of debugging and testing tools. Developers benefit from a fast and responsive development environment with JIT, while end-users experience optimized and efficient Flutter applications through AOT during deployment.
🧪 Adding Plugins to Your Project
- What are Flutter plugins?
- The diverse range of available Flutter plugins.
- The benefits of using plugins in your app.
- Adding a Plugin to Your Project
Flutter plugins extend the functionality of your app, allowing you to access device features, third-party services, and more. We'll introduce you to Flutter plugins, highlighting their versatility and the benefits they bring to your project.
🧪 Exercices
Discover and utilize basic Flutter widgets to create a playful and visually appealing UI for a "Flutter Zoo" app.
- Create a new Flutter project named "FlutterZoo."
- Open the project in your preferred IDE.
- Create a screen for the "Flutter Zoo" app using the following widgets:
- AppBar: Display the title "Flutter Zoo" at the top.
- Column: Organize the widgets vertically.
- Container: Wrap the entire zoo content for padding.
- ElevatedButton: Add a button with the text "Enter the Flutter Jungle."
- Placeholder: Use a placeholder widget for future zoo features.
- Image: Include an image of a cute Flutter mascot or any animal of choice.
- Row: Arrange widgets horizontally for a playful layout.
- Icon: Use an icon to represent a zoo-related action.
- Text: Display information or a description about the zoo.
- Combine these widgets to create an intuitive and visually pleasing zoo entrance screen.
- Experiment with styling options for widgets, including colors, fonts, and button styles.
- Make the zoo entrance screen lively and fun.
🎯 Solutions
click here to view a solution
import 'package:flutter/material.dart';
void main() {
runApp(FlutterZooApp());
}
class FlutterZooApp extends StatelessWidget {
Widget build(BuildContext context) {
return MaterialApp(
home: ZooEntranceScreen(),
);
}
}
class ZooEntranceScreen extends StatelessWidget {
Widget build(BuildContext context) {
return Scaffold(
appBar: AppBar(
title: Text('Flutter Zoo'),
),
body: Center(
child: Column(
mainAxisAlignment: MainAxisAlignment.center,
children: [
Container(
padding: EdgeInsets.all(16.0),
child: ElevatedButton(
onPressed: () {
// Handle button press action
},
child: Text('Enter the Flutter Jungle'),
),
),
Placeholder(
fallbackHeight: 200.0,
fallbackWidth: 200.0,
),
Image.network(
'https://example.com/flutter_mascot.jpg',
height: 150.0,
),
Row(
mainAxisAlignment: MainAxisAlignment.center,
children: [
Icon(Icons.star),
SizedBox(width: 8.0),
Text('Welcome to the Flutter Zoo!'),
],
),
Text('Explore the amazing world of Flutter animals.'),
],
),
),
);
}
}